You probably know that your camera can produce some spectacular video. Most still cameras are powerful cinematic tools because they combine large sensors, high-resolution lenses, and fast optics.
You will need to understand the technical aspects of videography, including the 180-degree shutter, file formats, bit rate, and creative concepts. Like taking stills photos, the process does not end once you put the camera away. Editing is what turns your original idea into something creative.
Today we will look at color grading, which is one of the most important aspects of video editing. This tutorial assumes you already have some experience editing video footage.
What is color grading?
First, you should know that grading does not mean correcting. To achieve a cinematic editing look, you need to go through two stages. The first step is to color correct. After that, you can grade the colors.
Color correction is more than just color correction. It’s also about contrast and exposure correction. Before we grade footage, it is important to balance the clip for all three elements.
It is especially important to neutralize the clips before grading, if you are grading an entire production and not just a clip. The grade will be difficult to achieve if the clips are not neutralized before grading.
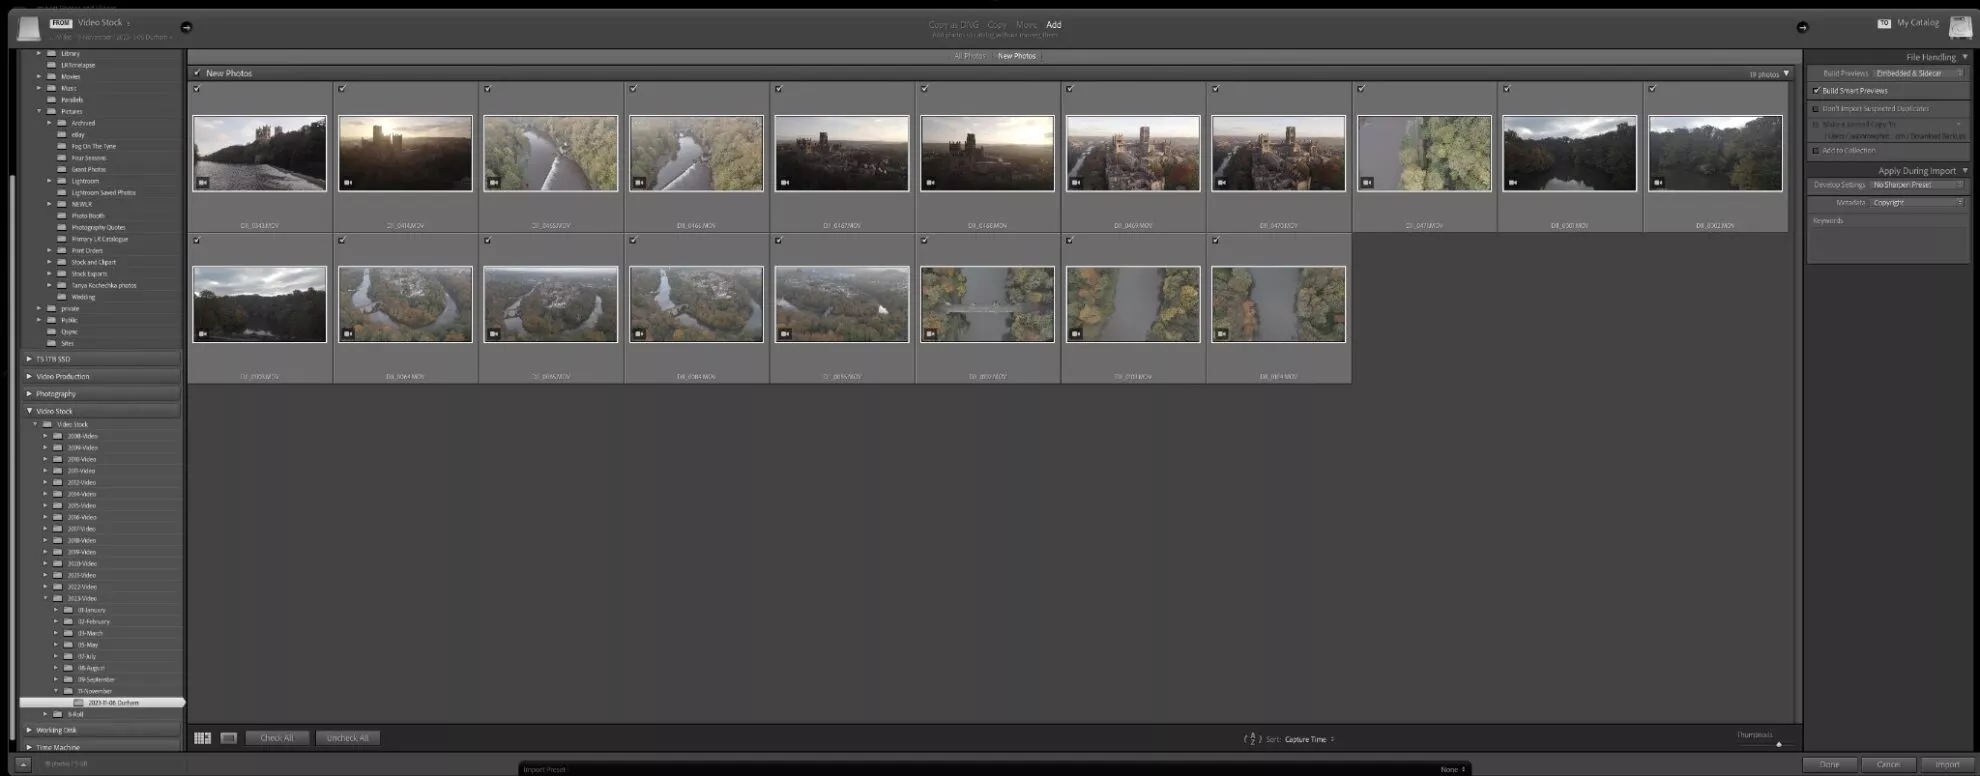
It’s called a href=”https://www.lightstalking.com/davinci-resolve-guide/”>DaVinci Resolve/a> and you can grab it a href=”https://www.blackmagicdesign.com/products/davinciresolve”>here/a>. You can download it Here. It is called Resolve. Resolve 18 was released at the time this article was written, but I hadn’t had enough time to become familiar with it. So we are still using Resolve 17 instead.
How to Apply for a LUT
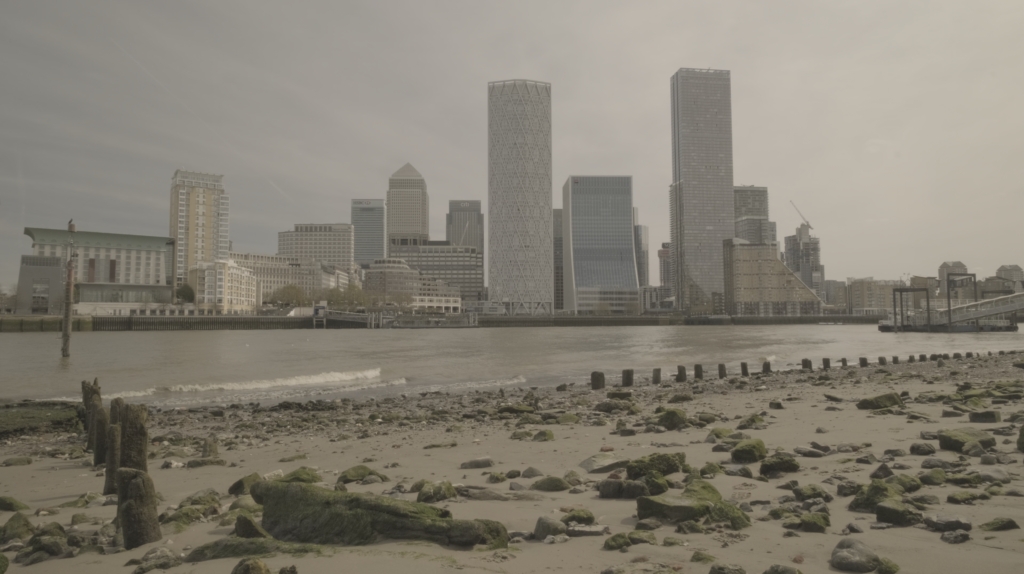
This clip of Canary Wharf, London is the clip that I will color grade. You can see that it is very flat because I shot it using the Log profile. Log maximizes the dynamic range on the sensor, similar to RAW.
You can find the clip in DaVinci Resolve’s Color module. The various modules are visible at the bottom of your editing window. They cover media management and editing, sound, colour, and output.