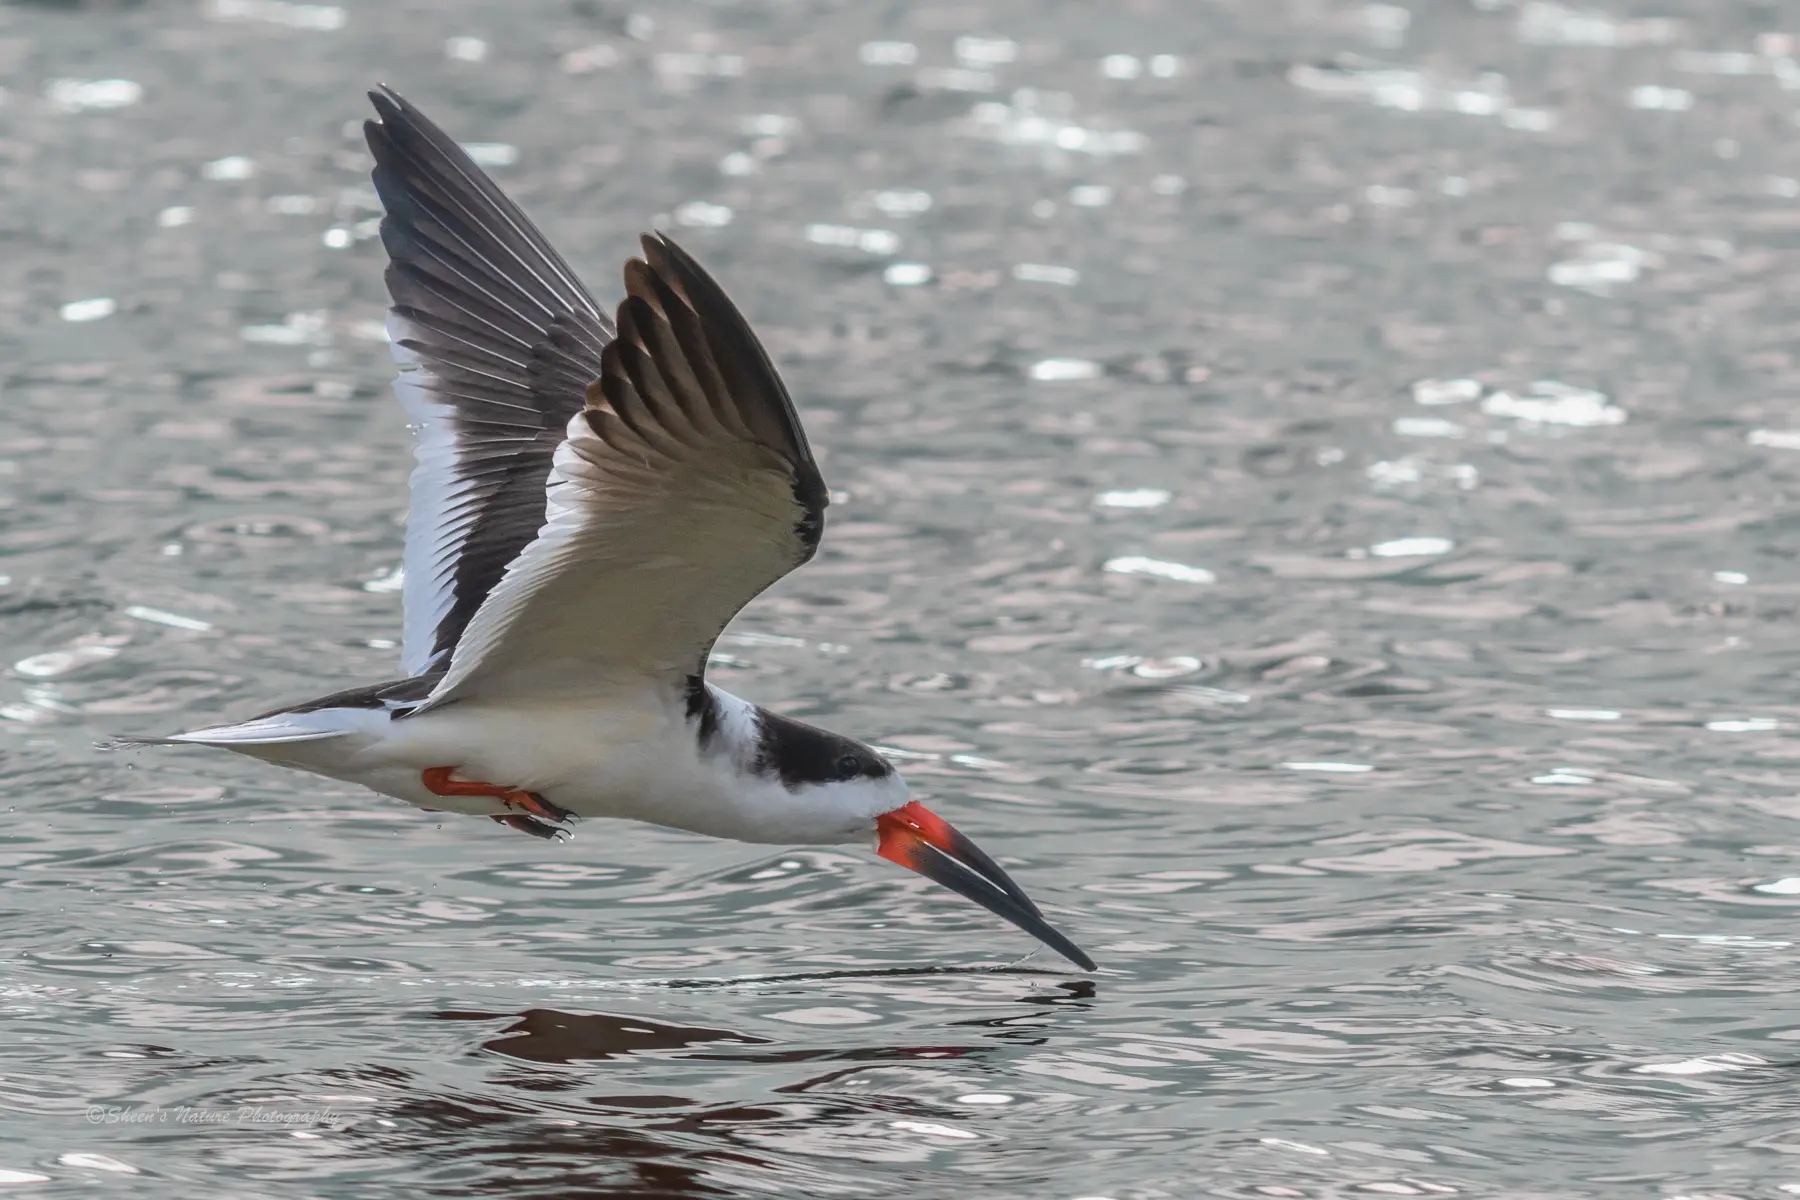
The wingspan. The wingspan. The catchlight. The sharp eye. The wingbeat. The ‘hang-time’. Many bird photographers have a personal challenge and goal: to photograph birds while they are flying with the wind under their wings.
It feels good to nail a photo of a bird in motion. It takes practice to get epic pictures. Use both tripod and hand-held panning techniques. Use the right lenses and settings, as well as the environment. Practice with birds.
We’ll go over quick-start baseline settings, followed by techniques to help you nail it!
Quick Start Settings: A Foundation for Building on
Six camera settings will help you get started when photographing birds. Review your work after a few bursts and make any necessary adjustments. Your shooting conditions and personal preferences may dictate different settings.
- Group Area AF 4 focus points vs single point focus. It is easier to focus the bird while it is flying if you use a larger area of focus. When photographing birds on sticks, wildlife, or birds with distracting backgrounds it is important to use single point focus. This will prevent the lens from focusing in the areas around the bird.
- Holding down the shutter button will capture several photos at once.
- For birds in flight I prefer Manual Shooting Mode, followed by Aperture Priority mode. My shutter speed is controlled with ISO.
- Set the aperture at f/9 when flying large birds, and f/8 when flying smaller birds
- Shutter speed 1/1600 to 1/2500sec
- ISO 1000-2000 depending on the lighting conditions in order to achieve desired shutter speeds (note: if it is a bright, sunny day, ISO might need to be lowered).
Try photographing your child or dog running in the back yard or at a small local sporting event before you shoot birds. Start with bigger subjects to help you learn how to use multiple settings and techniques.
The Art of Flight A Balanced Approach to Action and Sharpness
A steady hand, and the right amount of light can make all the difference when it comes to capturing sharp images. What is a “sharp” bird image? The first step is to have a clear, defined eye. The sharpness and placement of the eye in the frame sets the tone.
Should the bird and the rest of the image be sharp or not? It is up to the aesthetic preferences of the photographer and viewer.

